ONX MDW Server Owner Guide
This guide is for server owners who have purchased the ONX MDW. The user guide can be found here.
Feedback and Support
Support is available in our discord server. You can also give suggestions for what should be added in future versions of the resource.
Installation
- Add onx-mdw to your resources folder
- Add
enxure onx-mdwto your server.cfg
Resource Configuration
Check config.lua (in the onx-mdw resource) for configuration options.
Frameworks
onx-mdw has integrations with the following frameworks:
- QBCore
- Qbox
- ESX
These are required to get a character's ID and name.
To use ESX, uncomment '@es_extended/imports.lua', in shared_scripts from fxmanifest.lua. The minimum supported version of ESX is 1.13.3 (for SSN support).
Inventory scripts
onx-mdw has integrations with the following inventory scripts:
- QBCore
- ESX
- OX Inventory
You can also write your own integrations for any unsupported or custom frameworks.
By default the MDW is accessible to anyone with an MDW inventory item. They can 'use' the item or set up a keybind.
Provided are example configurations for an MDW inventory item. It is up to you to add this item to your server and provide a way for players to acquire it. You can use mdw.png as an icon.
QBCore:
onx_mdw = { name = 'onx_mdw', label = 'MDW', weight = 2000, type = 'item', image = 'onx_mdw.png', unique = true, useable = true, shouldClose = true, description = 'Check the MDW' },
ESX:
INSERT INTO `items` (`name`, `label`, `weight`) VALUES
	('onx_mdw', 'MDW', 2);
OX Inventory
      ["onx_mdw"] = {
        label = "MDW",
        weight = 1,
      },
The inventory item name can be changed in the configuration file. If you want to use different methods of accessing the MDW you can implement them yourself in client/client.lua.
Prison scripts
onx-mdw has integrations with the following prison scripts:
- Rcore Prison
- Dynyx Prison
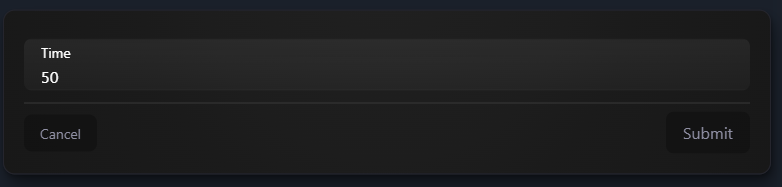
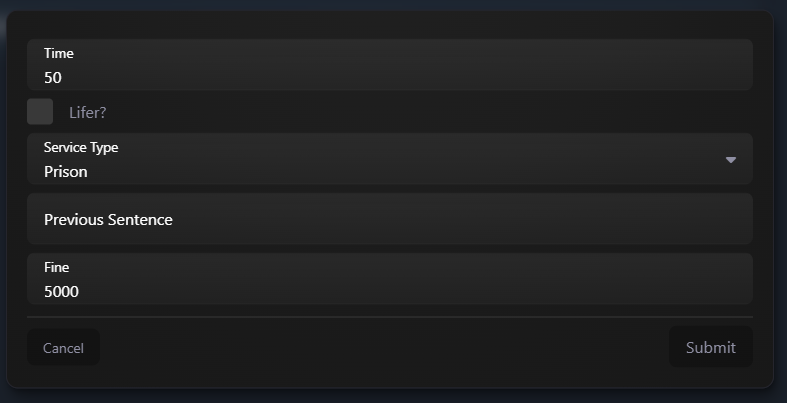
Enable these in the config to allow jailing directly from the MDW. The form options displayed depend on which script you use.
To add support for a custom prison script, enable one of these options in the config and modify Jail in client/client.lua.
Evidence scripts
onx-mdw has integrations with the following evidence scripts:
- Snipe Evidence
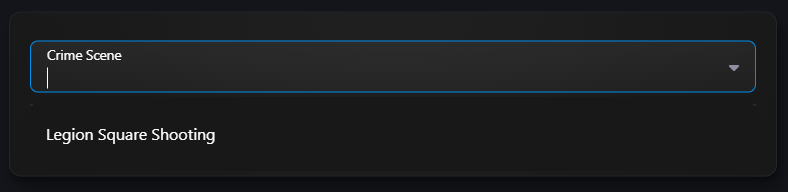
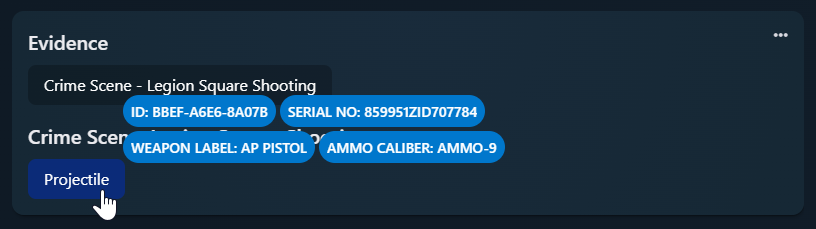
Enable it in the config, then you can attach crime scenes as evidence and view the contents.
Housing
onx-mdw has integrations with the following scripts:
qb-housesqbx_propertiesnolag-propertiesbcs_housing
Please suggest additional integrations in our discord.
Target
Opening the MDW on target can be useful for public access to the MDW. This can be achieved using the onx-mdw:open client event. There are examples for how to use this with qb-target and ox_target in client/integrations/target.lua.
Radar
onx-mdw has an integration with wk_wars2x. This will automatically run plates and alert if the registered owner has a warrant.
We recommend setting CONFIG.use_sonorancad to true in the wk_wars2x config.
Permissions
Most permissions can be managed within the MDW. For initial setup and for server owner configuration at least one player should be given god-mode access. By default this is handled through ace permissions - add the following line to your server.cfg.
add_ace group.admin "onx-mdw.godmode" allow
Alternatively, set up a custom permissions check in server/server.lua.
First run
The first time the resource runs we need to link your server with the tebex subscription. You should see an authentication URL in your server console.

Follow this link and sign in with your CFX account and the subscription should automatically be linked. If you need to retry authentication you can restart the resource.
You can link your subscription with any servers you own, but beware that the database is shared and there could be conflicts with character IDs.
MDW Configuration
To access Admin Configuration within the MDW, open the hamburger menu and select 'Admin' at the bottom of the list.


There is an option for enabling the job feature in the MDW. These is currently no option to integrate this with frameworks so it is disabled by default.
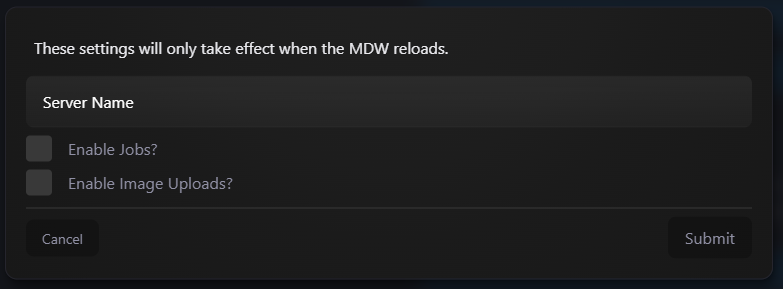
The final configuration step is setting up any roles you require and assign permissions to those. Instructions for this are described in the User Guide.
Export Data
You can request an export of all your MDW data. Do this in Admin Settings. A link will appear on this page within 24 hours and be valid for 24 hours.

ONX MDW Premium
Want more from ONX MDW? Purchase the premium addon on the store. This unlocks the following features:
- External MDW - access the MDW when not in-game from a browser or your phone
- Collaborative editing - multiple people can edit report descriptions at the same time and see changes in real time
- Image uploads - no more relying on an external file host, users can upload images directly just by copying the file
- Discord integration - our discord bot can automatically give users discord roles when they receive a role in the MDW. They can also receive notifications via Discord DM for important updates such as court case scheduling
After Purchasing ONX MDW Premium please allow a few minutes for the purchase to process then refresh your MDW.
External MDW
To generate an external link, users need the 'MDW - Generate External Link' permission. This link is valid for 30 days before it must be generated again. Please note - once an external link is generated that user can access the MDW at any time. You should only allow external link generation for users you trust not to access it when it does not make sense (for example when a character loses their MDW or is in jail).
Users can disable their own external links from the MDW (for example, when they think a link may have been leaked).

From the Admin settings menu you can disable external links for a specific character ID or disable all active external links. An example of when you might want to do this is after banning a player or updating permissions for who can generate external links.

Custom Hostname
External links default to https://mdw.onx.gg but you can bring your own domain if you choose. First, add a CNAME record to your DNS that points to mdw.onx.gg.
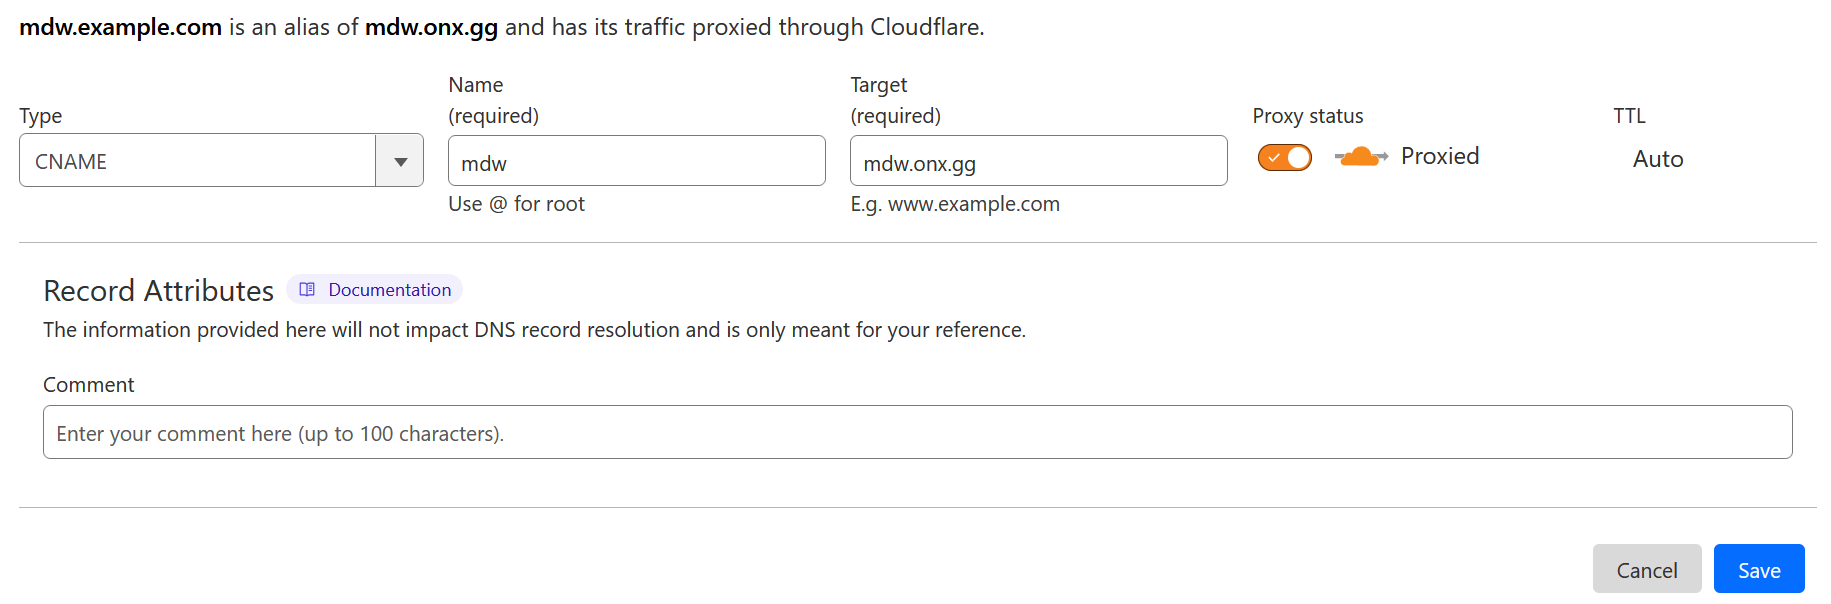
Then enter your hostname (eg mdw.example.com) into the custom hostname section of the Admin MDW Settings. Any external links that are generated should now use this hostname.
Please note: if you ever remove the DNS record or change to a different hostname all external links will stop functioning.
Collaborative editing
This feature requires no configuration.
Image uploads
This feature must be enabled in the Admin MDW Settings prior to use.
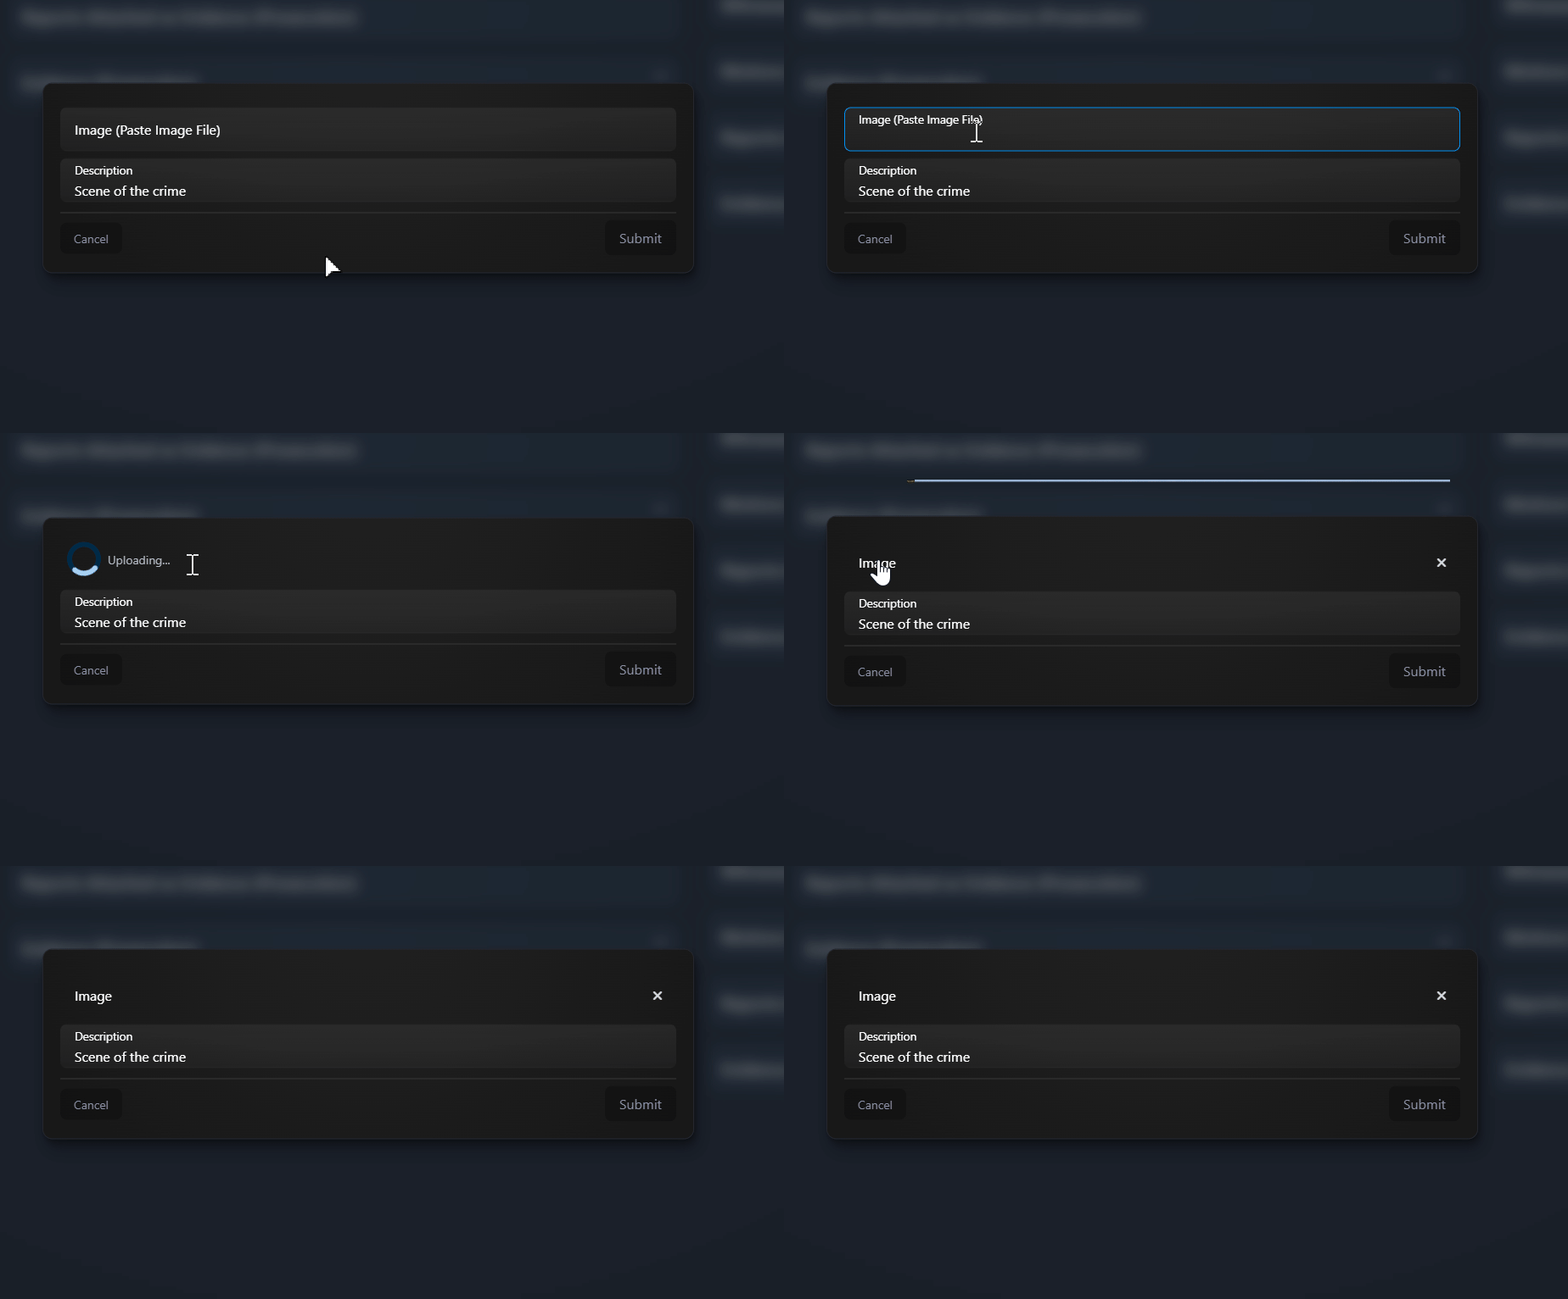
Please note: there is a file size limit of 10MB per image.
Discord integration
Add our ONX MDW Discord bot to your server by clicking the button on the admin settings page.

Role sync
Our Discord bot requires the 'Manage Roles' permission to assign roles to users.
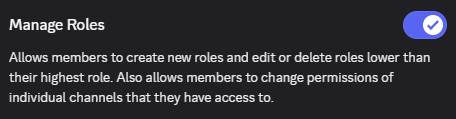
The ONX MDW discord role should be above any roles you want it to assign.
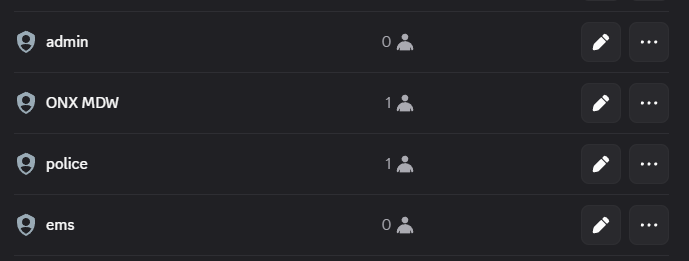
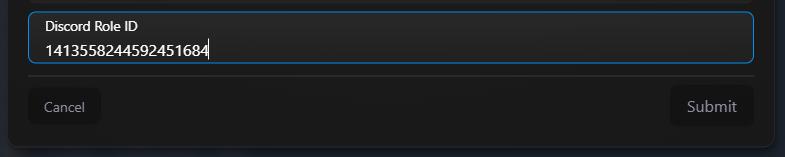
To link a discord role with an MDW role you need the discord role ID. To get this, first enable Developer Mode under advanced settings. Then right click the role and select 'Copy Role ID'.


You can then enter this ID when editing the MDW role. Any users who are granted this MDW role should receive the discord role, and will lose it when they lose the role.
Notifications
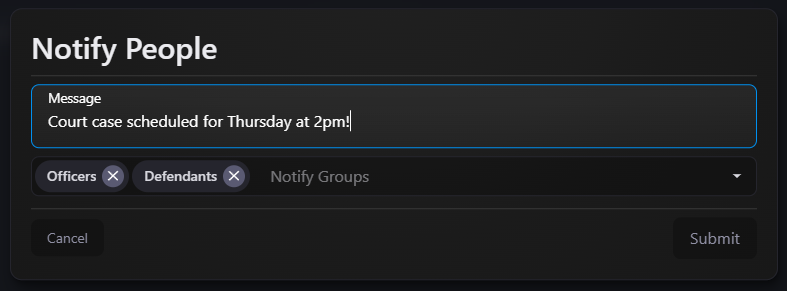
To send notifications about reports via discord the user must have the 'Reports - Send Notifications - Discord' permission. They can then select 'Notify' in any report, select who will receive the notification and click 'Submit'. This will send a discord DM to every user attached to the report in the selected groups who has connected their discord account.

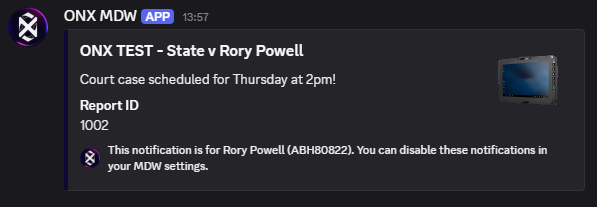
The server name in the notification can be customised in the Admin MDW Settings.
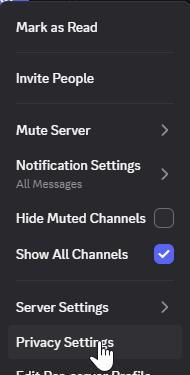
Troubleshooting: if a user does not receive a notification, check they allow direct messages from the ONX MDW bot. This setting can be found by right clicking your server, clicking 'Privacy Settings' and toggling on 'Direct Messages'.

Connect Account
For users to receive direct messages or have their role synced they need to connect their discord account to their character. They can do this by clicking 'Connect Discord' in the menu.

Developers
⚠️ These are advanced options and should only be attempted by users with development knowledge.
Custom Profile Data
Custom data can be added to character profiles by making changes in server/server.lua.
Add an object to the customItems array with the following properties:
label- label of the datapermission- optional. Which permission is required to view this data. Add a custom permission toConfig.ExtraPermissionsinconfig.lua.items- an array of the results for this character. Can be empty. Each item in the array should have alabelproperty.
Vehicles and properties are implemented this way, you can use them as examples.