ONX MDW User Guide
This guide is for users of the ONX MDW. The server owner guide can be found here.
Contents
Icons
In many places there is the option to add an icon. Find an icon on Font Awesome and copy the id (eg fa-user). You can then input this into the icon field.
Search
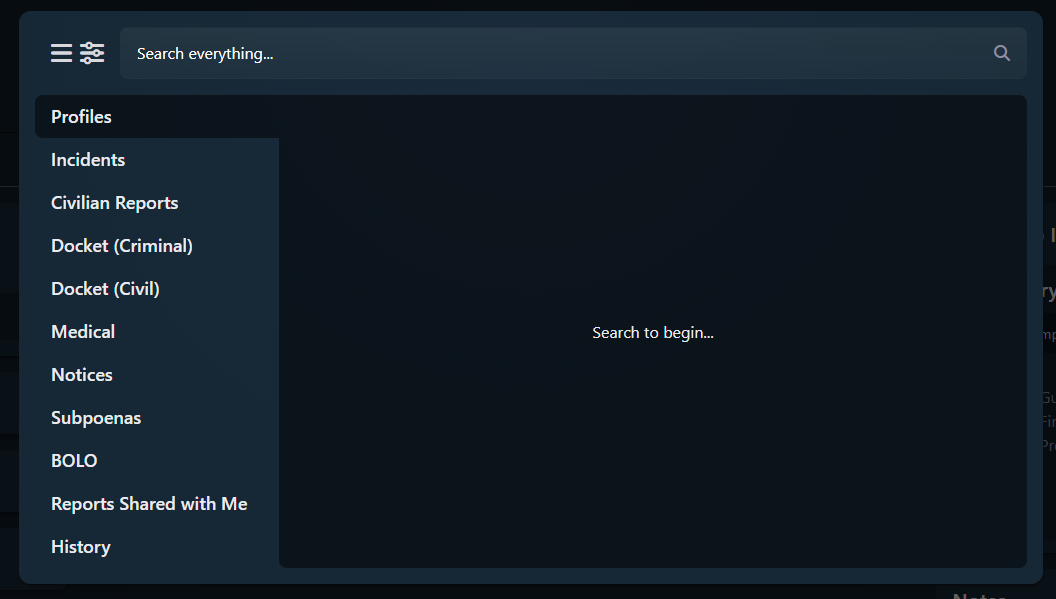
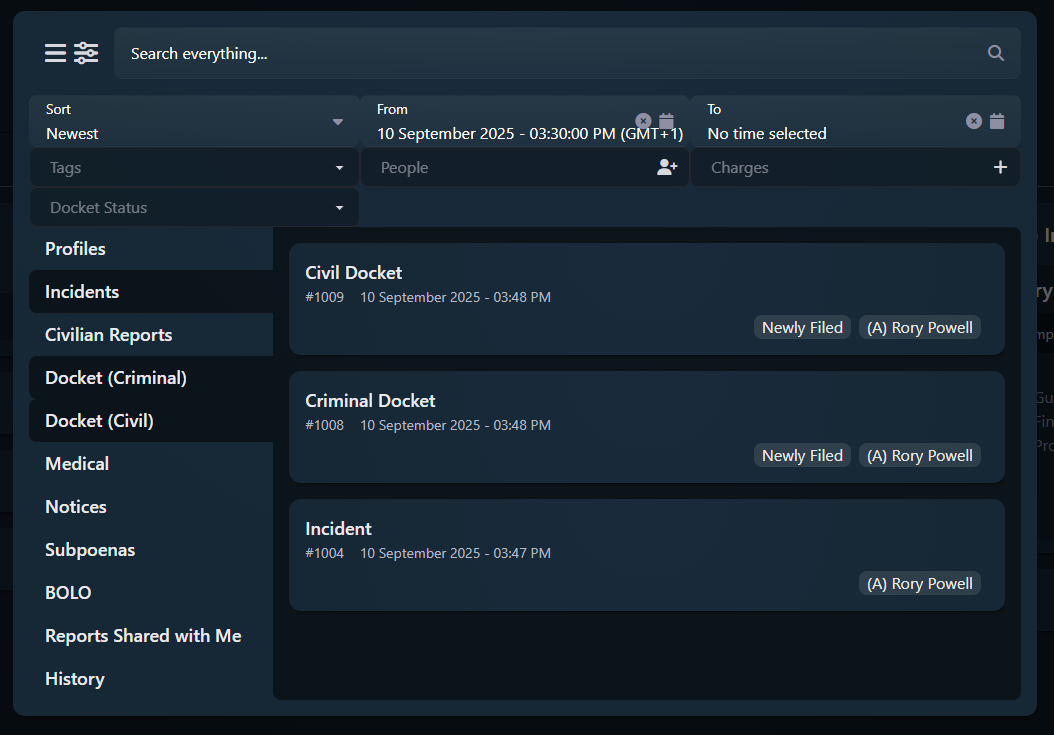
Search by clicking the search bar at the top of the MDW. You can search multiple categories at once by holding control and clicking multiple categories. There are additional search options when you click the options button. The options available depends on the categories being searched.
Dashboard
The Dashboard can show warrants, BOLOs, notices and patients who are in the ICU.

Profiles
Profiles have three main sections.
Profile
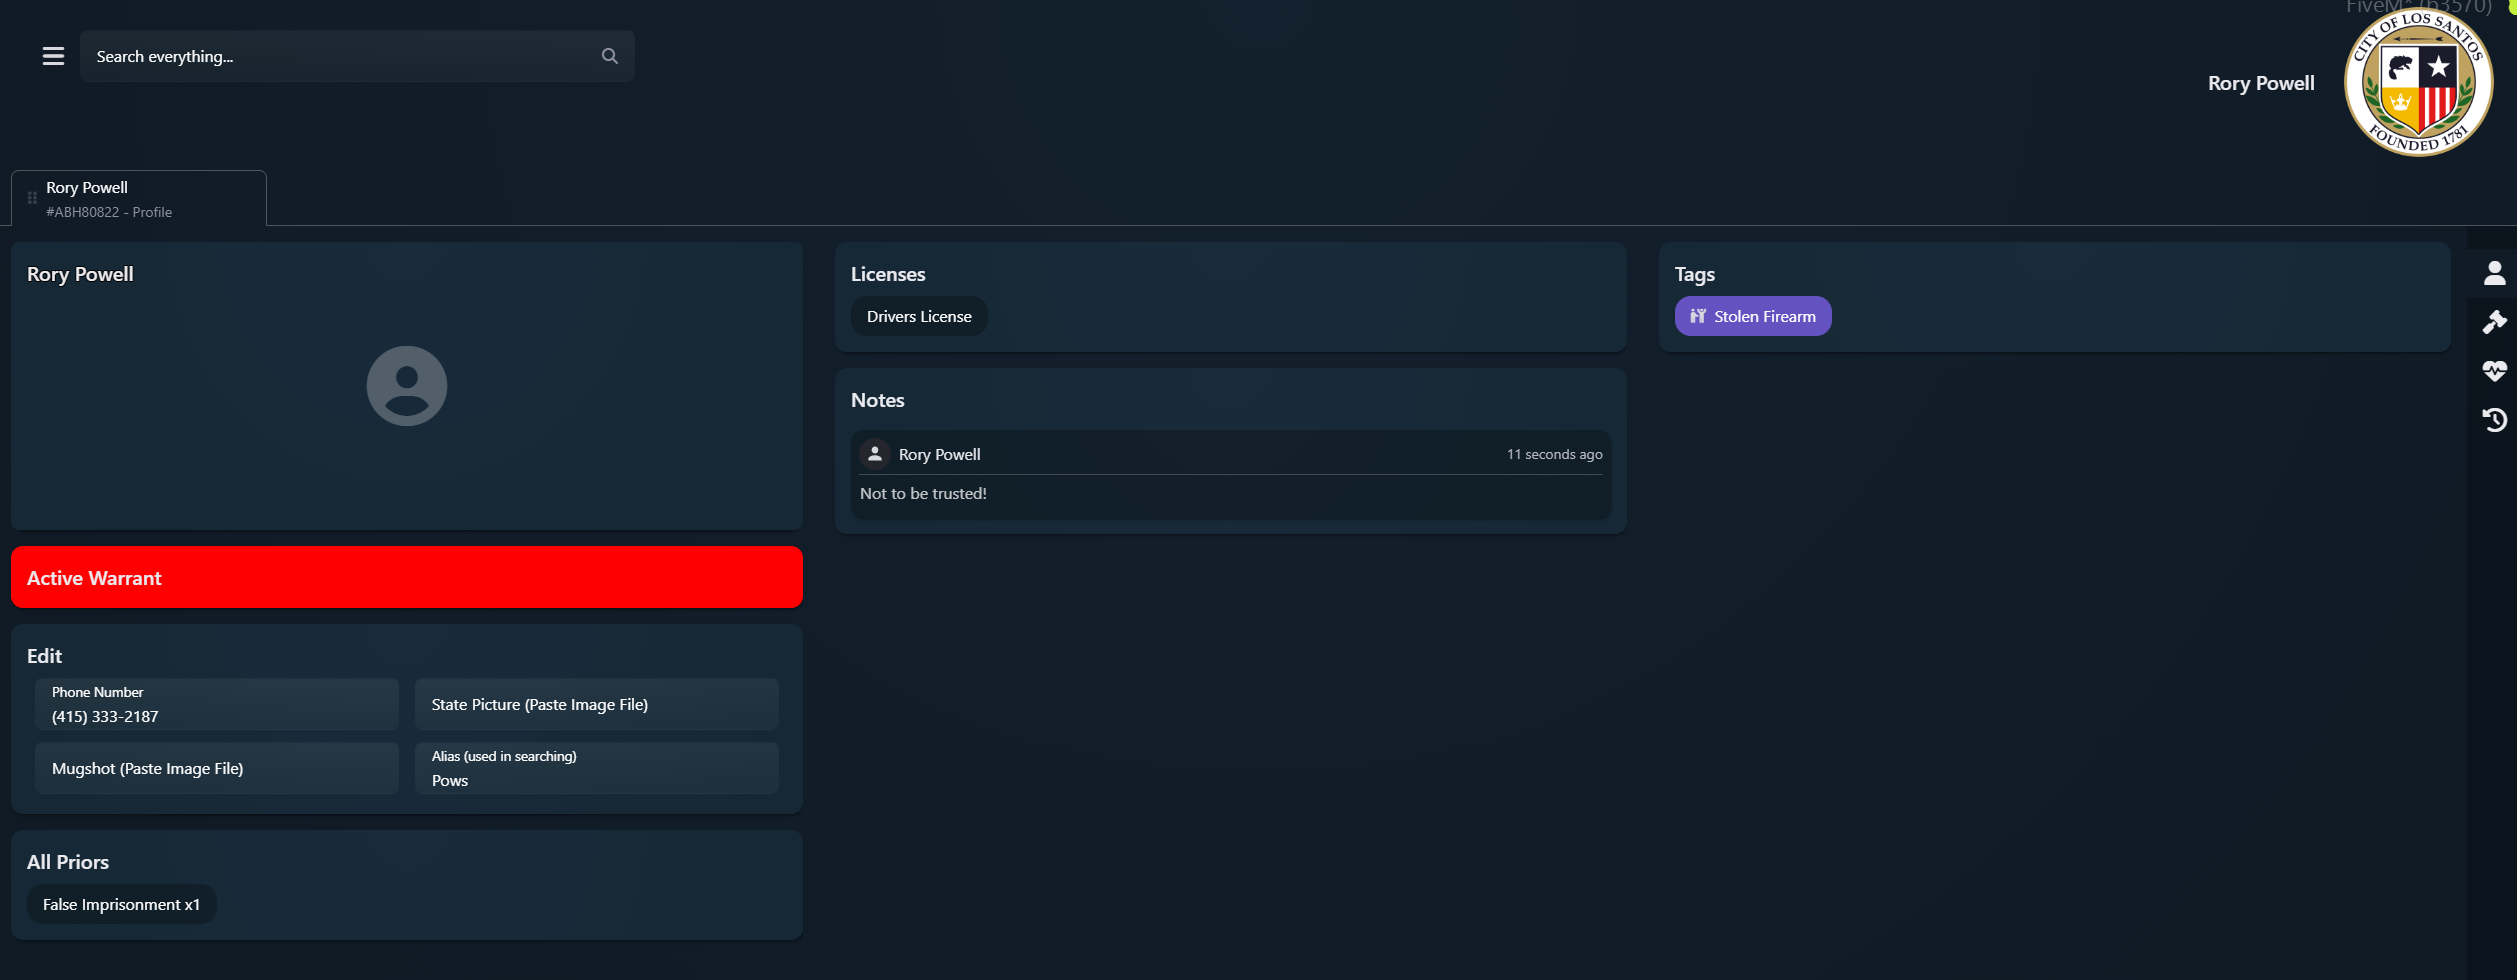
What can actually be seen depends on the permissions a user has.
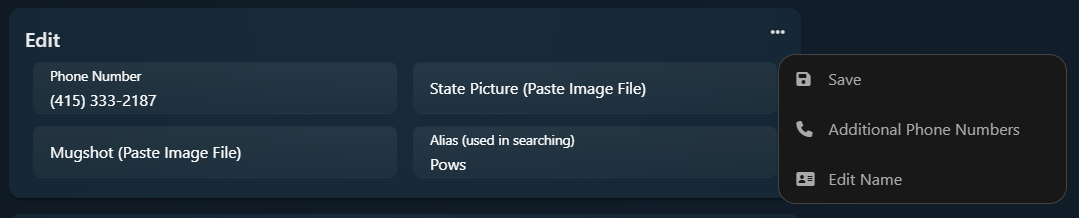
The user phone number, picture, mugshot and alias can be set. Additional phone numbers can also be added and the name can be edited.
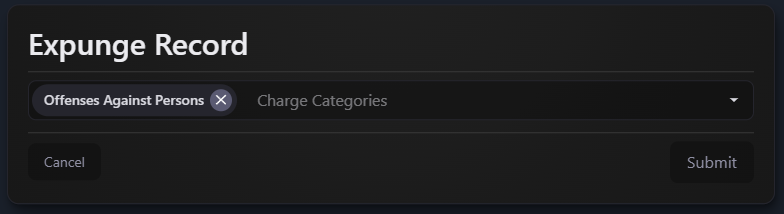
Priors can be viewed. A search can be performed to find which reports involve this person. Their record can also be expunged, which allows you to select which charge categories should be expunged from their record.
Government Profile
Roles and certs can be managed here. Jobs can be managed and departments/subdepartments viewed if jobs are enabled in the Admin MDW Settings.

Medical Record
Only visible to this person and users with the 'Profiles - Medical Record' permission. Can add notes, tags and set emergency contacts.

Reports
Manager
Access to the reports manager requires the 'Reports - Manage' permission.
Here you can add, remove and edit report categories. Report categories have many options.
- Name
- Public - is this report category visible to everyone, no permission required?
- Create Label and Create Icon - what the button to create reports in this category will look like

- Template - default report description for reports in this category
- Render Type - affects the layout and available fields of reports in this category. The available options are Incident, Report, Criminal Docket, Civil Docket, Subpoena and Medical Report
- BOLO - allows marking reports to show on the dashboard under the BOLOs section
- Notice - allows marking reports to show on the dashboard under the Notices section. Can also mark reports as blocking which means anyone who views the dashboard must confirm they have read the notice before continuing
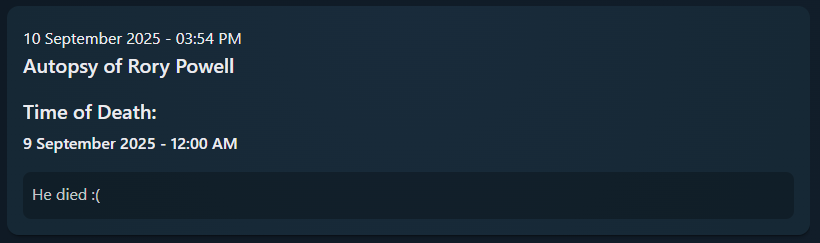
- Autopsy - allows adding a time of death to a report
Reports
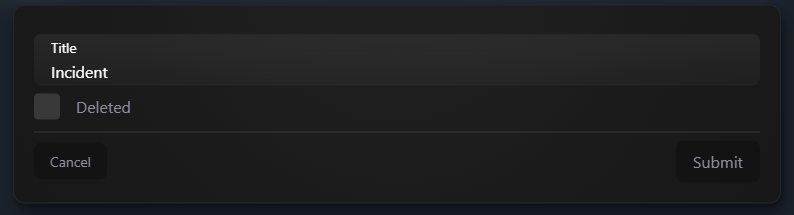
You can edit the title of a report by clicking it. You can also delete a report here if you have permission.
The 'Shared With' section allows someone to view the report who normally would not have access. This will show up in 'Reports Shared with Me' in search for that person.
You can reference another report in 'Reports Attached as Evidence'. Any evidence in that report will show in this report.
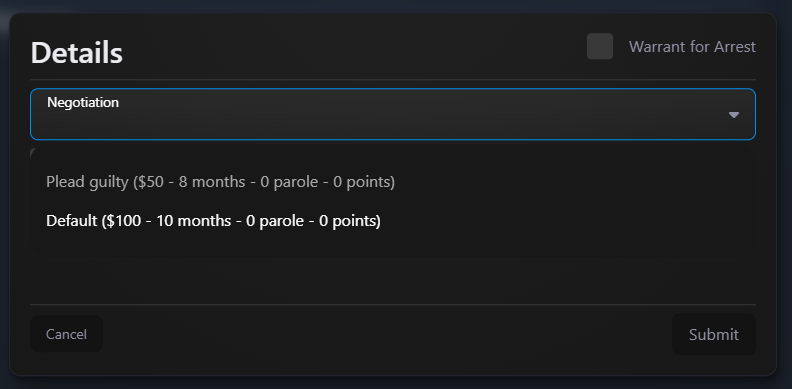
After adding a suspect to an Incident report you can edit their charges by clicking the charges section. Charges can be added as an accomplice or as an accessory. Click elsewhere on the person to edit other details - you can select their negotiation to reduce time or fine, mark them as having plead guilty, mark them as having been fined for documentation or mark them as being processed to add the charge to their record.
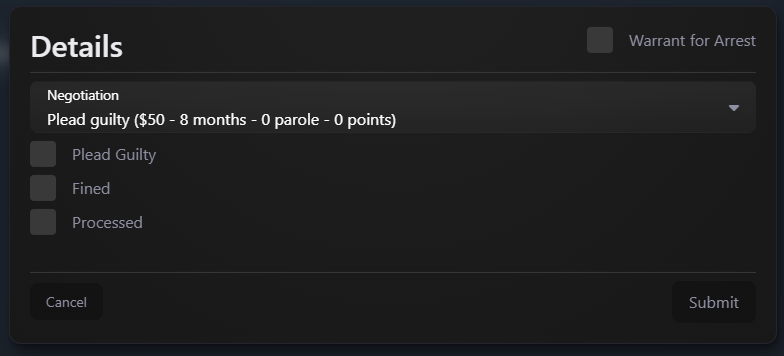
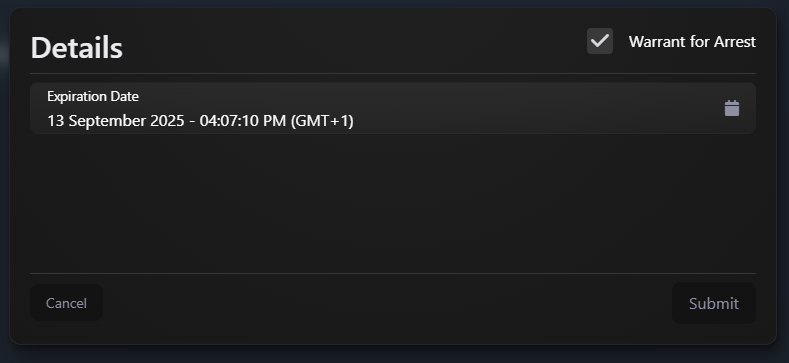
You can also place a warrant for their arrest and set an expiration date. This will show on their profile and on the dashboard.
Tags
Access to the Tags Manager requires the 'Tags - Manage' permission.
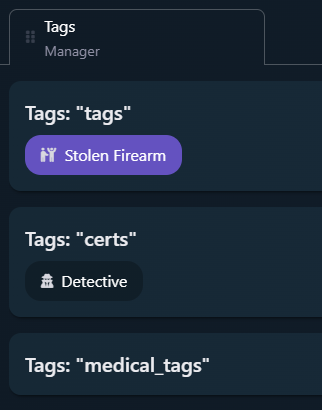
Tags can be created, edited and deleted. There are three categories of tag:
- Tags - can be attached to profiles and reports
- Certs - can be attached to government profiles
- Medical tags - can be attached to medical reports and medical records
Tags can be used in search, making them a useful organisational tool.
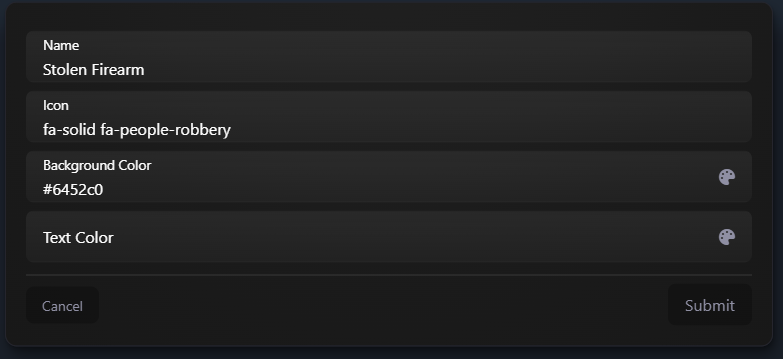
Tags have a few options:
- Name
- Icon
- Background Color
- Text Color
Charges
Access to the Charges Manager requires the 'Charges - Manage' permission.

Charges are grouped into headings and categories. Headings are for different sections of the penal code and categories are for different severities of offence. In the example below, 'Offenses Against Persons' is a heading and 'Misdemeanor A'/'Misdemeanor B' are categories.
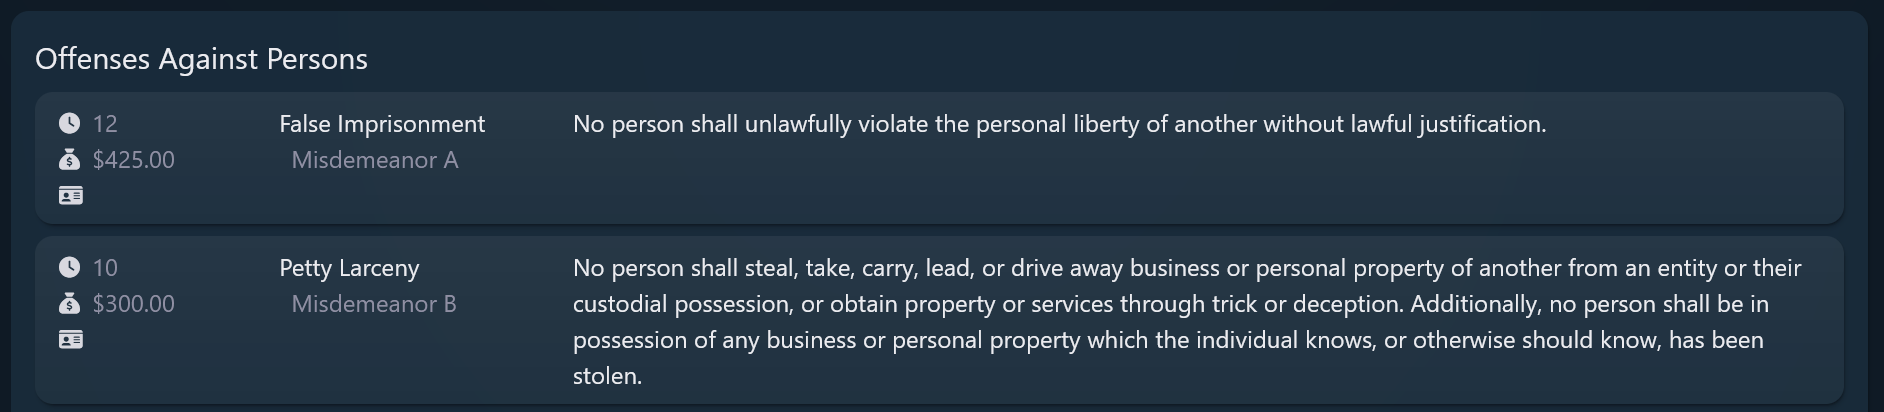
In the charges manager you can create, edit and delete headings. The only option for headings is the name.
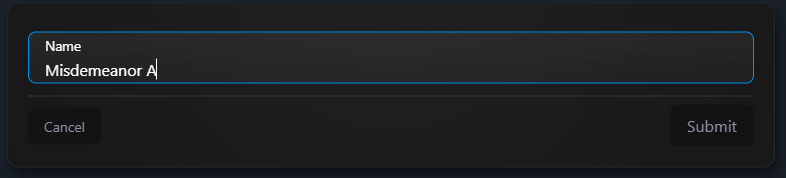
You can also create, edit and delete categories. There are more options for this.
- Name
- Icon - this displays next to the category everywhere it is shown
- Accomplice Multiplier - how much time is multiplied by when someone is charged as an accomplice. For example, if a charge gives 100 months of time and the accomplice multiplier is 0.8, then anyone charged as an accomplice would receive 80 months in jail
- Accessory Multiplier - same as above for accessories
- Parole Multiplier - how much parole someone receives when charged as a multiplier of the default charge time. For example, if a charge gives 100 months of time and the parole multiplier is 2, they would receive 200 months of parole
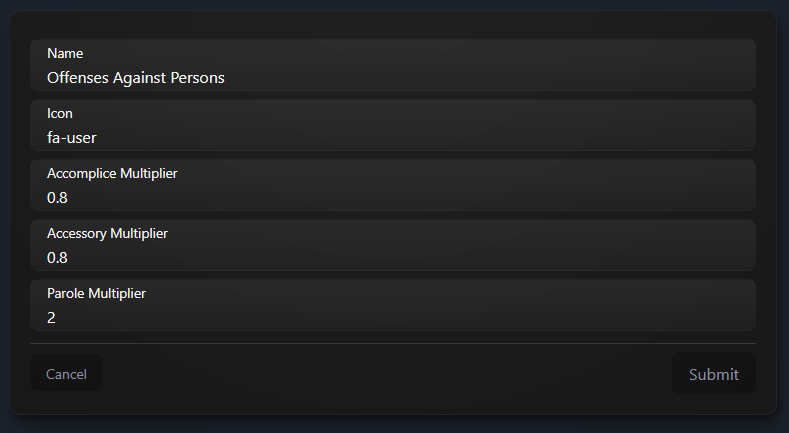
Charge categories and headings can be reordered to alter the order they show in the charges viewer.
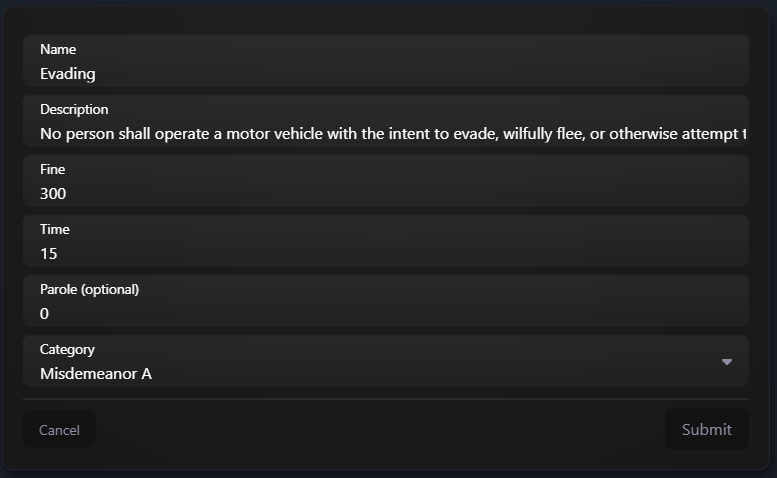
To add a charge, click a heading and select 'Show Charges'. This will display all charges under this heading. You can then add, delete or edit any charge. Charges have many options.
- Name
- Description
- Fine
- Time
- Parole - you can manually set how much parole a charge gives and this will override the default set by the charge category parole multiplier
- Category
Documents
Access to the Documents Manager requires the 'Documents - Manage' permission.
The documents manager allows you to create, delete, edit and reorder document categories. These categories can be accessed from the hamburger menu, allowing people with permission to view, edit and create notes on documents.
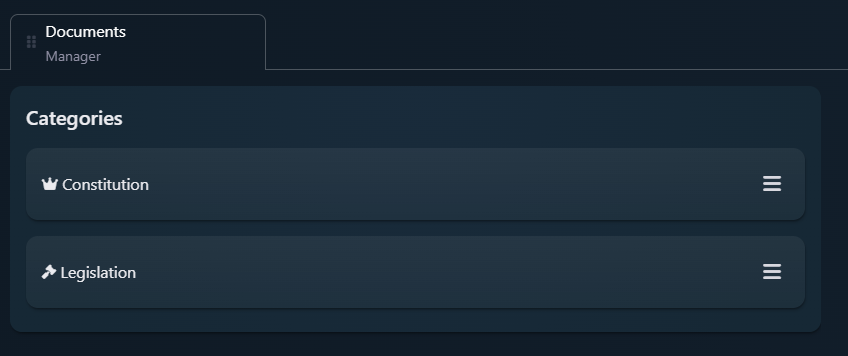
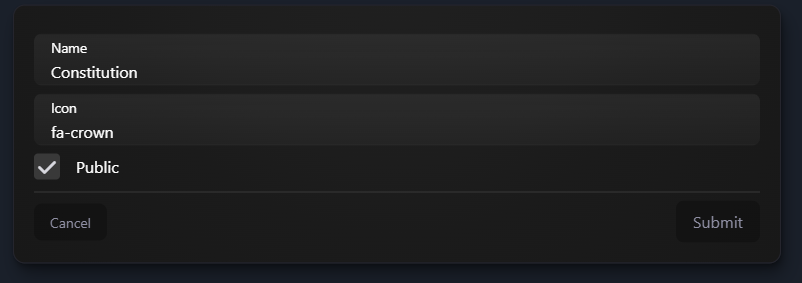
You can edit document categories to set the name, icon and if the category is public (viewable by everyone).
Configuration
Access to basic configuration required the 'Config - Manage' permission.
Default Customization
This allows you to set the default logo that appears in the top right of the MDW, before it is overriden by any department or job settings.

Negotiations
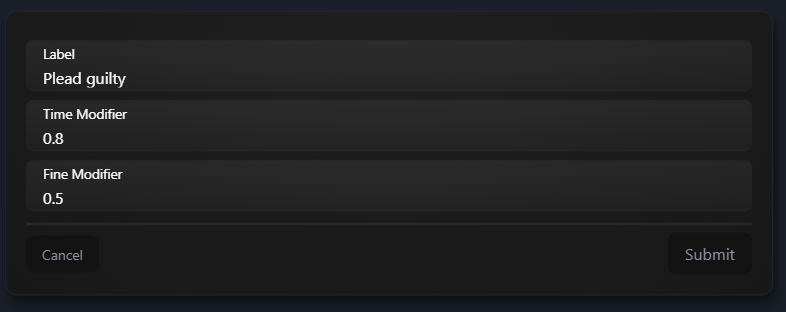
Here you can edit the negotiations available to police officers that modify the time and fine a criminal receives. For example, a 'Plead guilty' negotiation could result in a criminal spending receiving a sentence that is 0.8 times as long and a fine that is 0.5 times as big.
Jobs
These options are only available if Job support is enabled in the Admin MDW Settings.
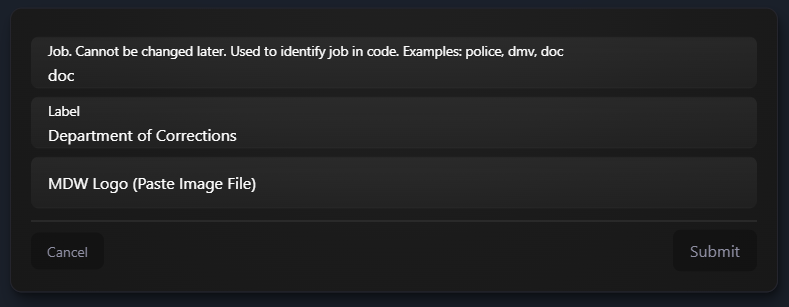
When creating or editing a job there are three options:
- Job - the identifier of the job
- Label - how the job will appear in the MDW
- MDW Logo - optional. Will adjust the logo in the top right of the MDW for anyone who has this job
Ranks
Click a job and select 'View Ranks'. You can then add, delete and edit any ranks for this job.

Departments and Subdepartments
You can create, edit and delete departments and subdepartments. These must be tied to a job.
Applications
Creating applications requires the 'Applications - Create' permission. The creator of an application has permissions to let others edit the applications. Users with the 'Applications - Manage All' permission can edit all applications.
Applications can be created under 'Applications' in the menu. This is also where applications can be edited and responded to.

Once an application has been created there are options to change who can edit the application and view responses.
When editing an application, there are some options:
- Title
- Icon
- Category - applications with the same category will be grouped together in the application menu
- Who can respond - anyone / limited to jobs / limited to roles
- Application template
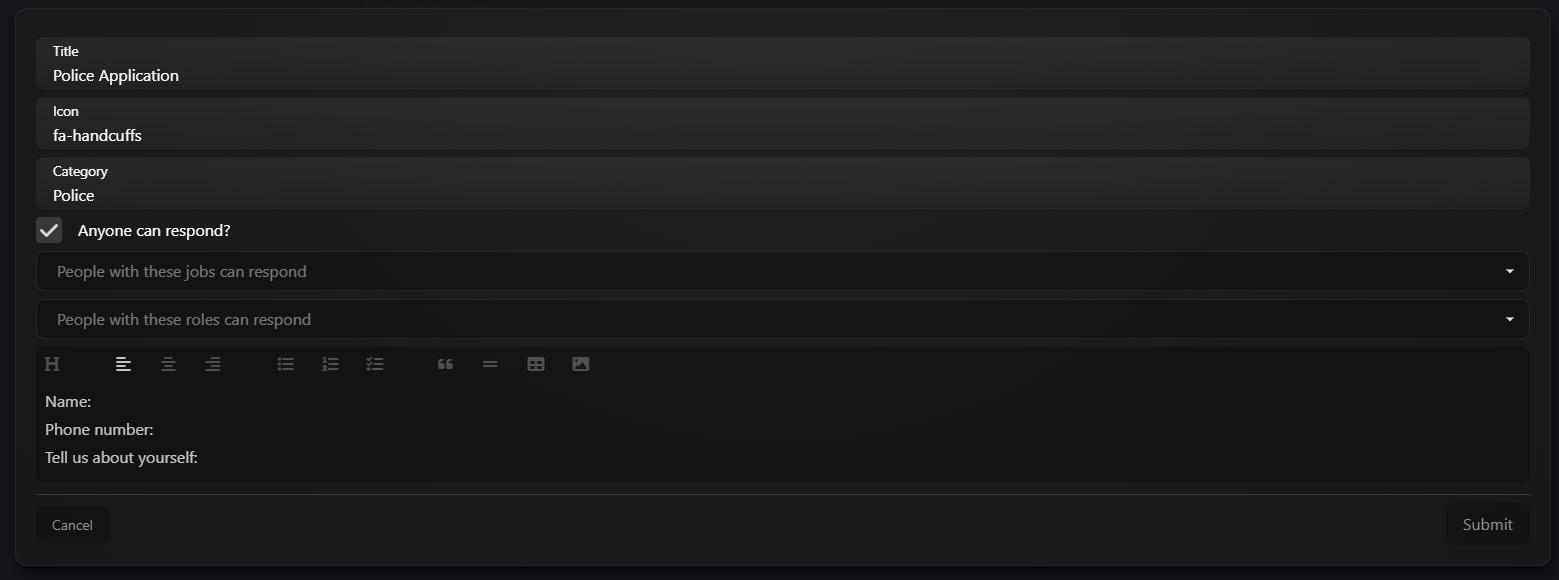
There are also options to close an application to responses or delete an application.
Once an application has been submitted it can be viewed and notes can be added. Responses can be hidden and hidden responses can be viewed by clicking 'Show Hidden Responses'.
Roles
The Roles Manager is a very important page that manages permissions across the entire MDW.
Some permissions explained -
- 'Documents - Manage' - gives access to the documents manager, allowing them to create or delete document categories
- 'Docket - Set Status' - should be given to judges. Allows them to update the status of docket cases (scheduling, scheduled, dismissed, etc)
- 'Profiles - Gov - Certs - Edit' - allows giving and removing certs to players
- 'Profiles - Priors - Process Expungement' - should be given to judges. Allows criminal records to be expunged, hiding them on profiles (except for people with the 'Profiles - Priors - Expunged Charges - View' permission)
- 'Applications - Manage All' - allows the user to manage all applications, even if not given specific permission. Also required to delete applications
- 'Tags - Manage' - gives access to the tags manager, allowing the creation of deletion of tags that users with the 'Profiles - Tags - Edit' can give to other users
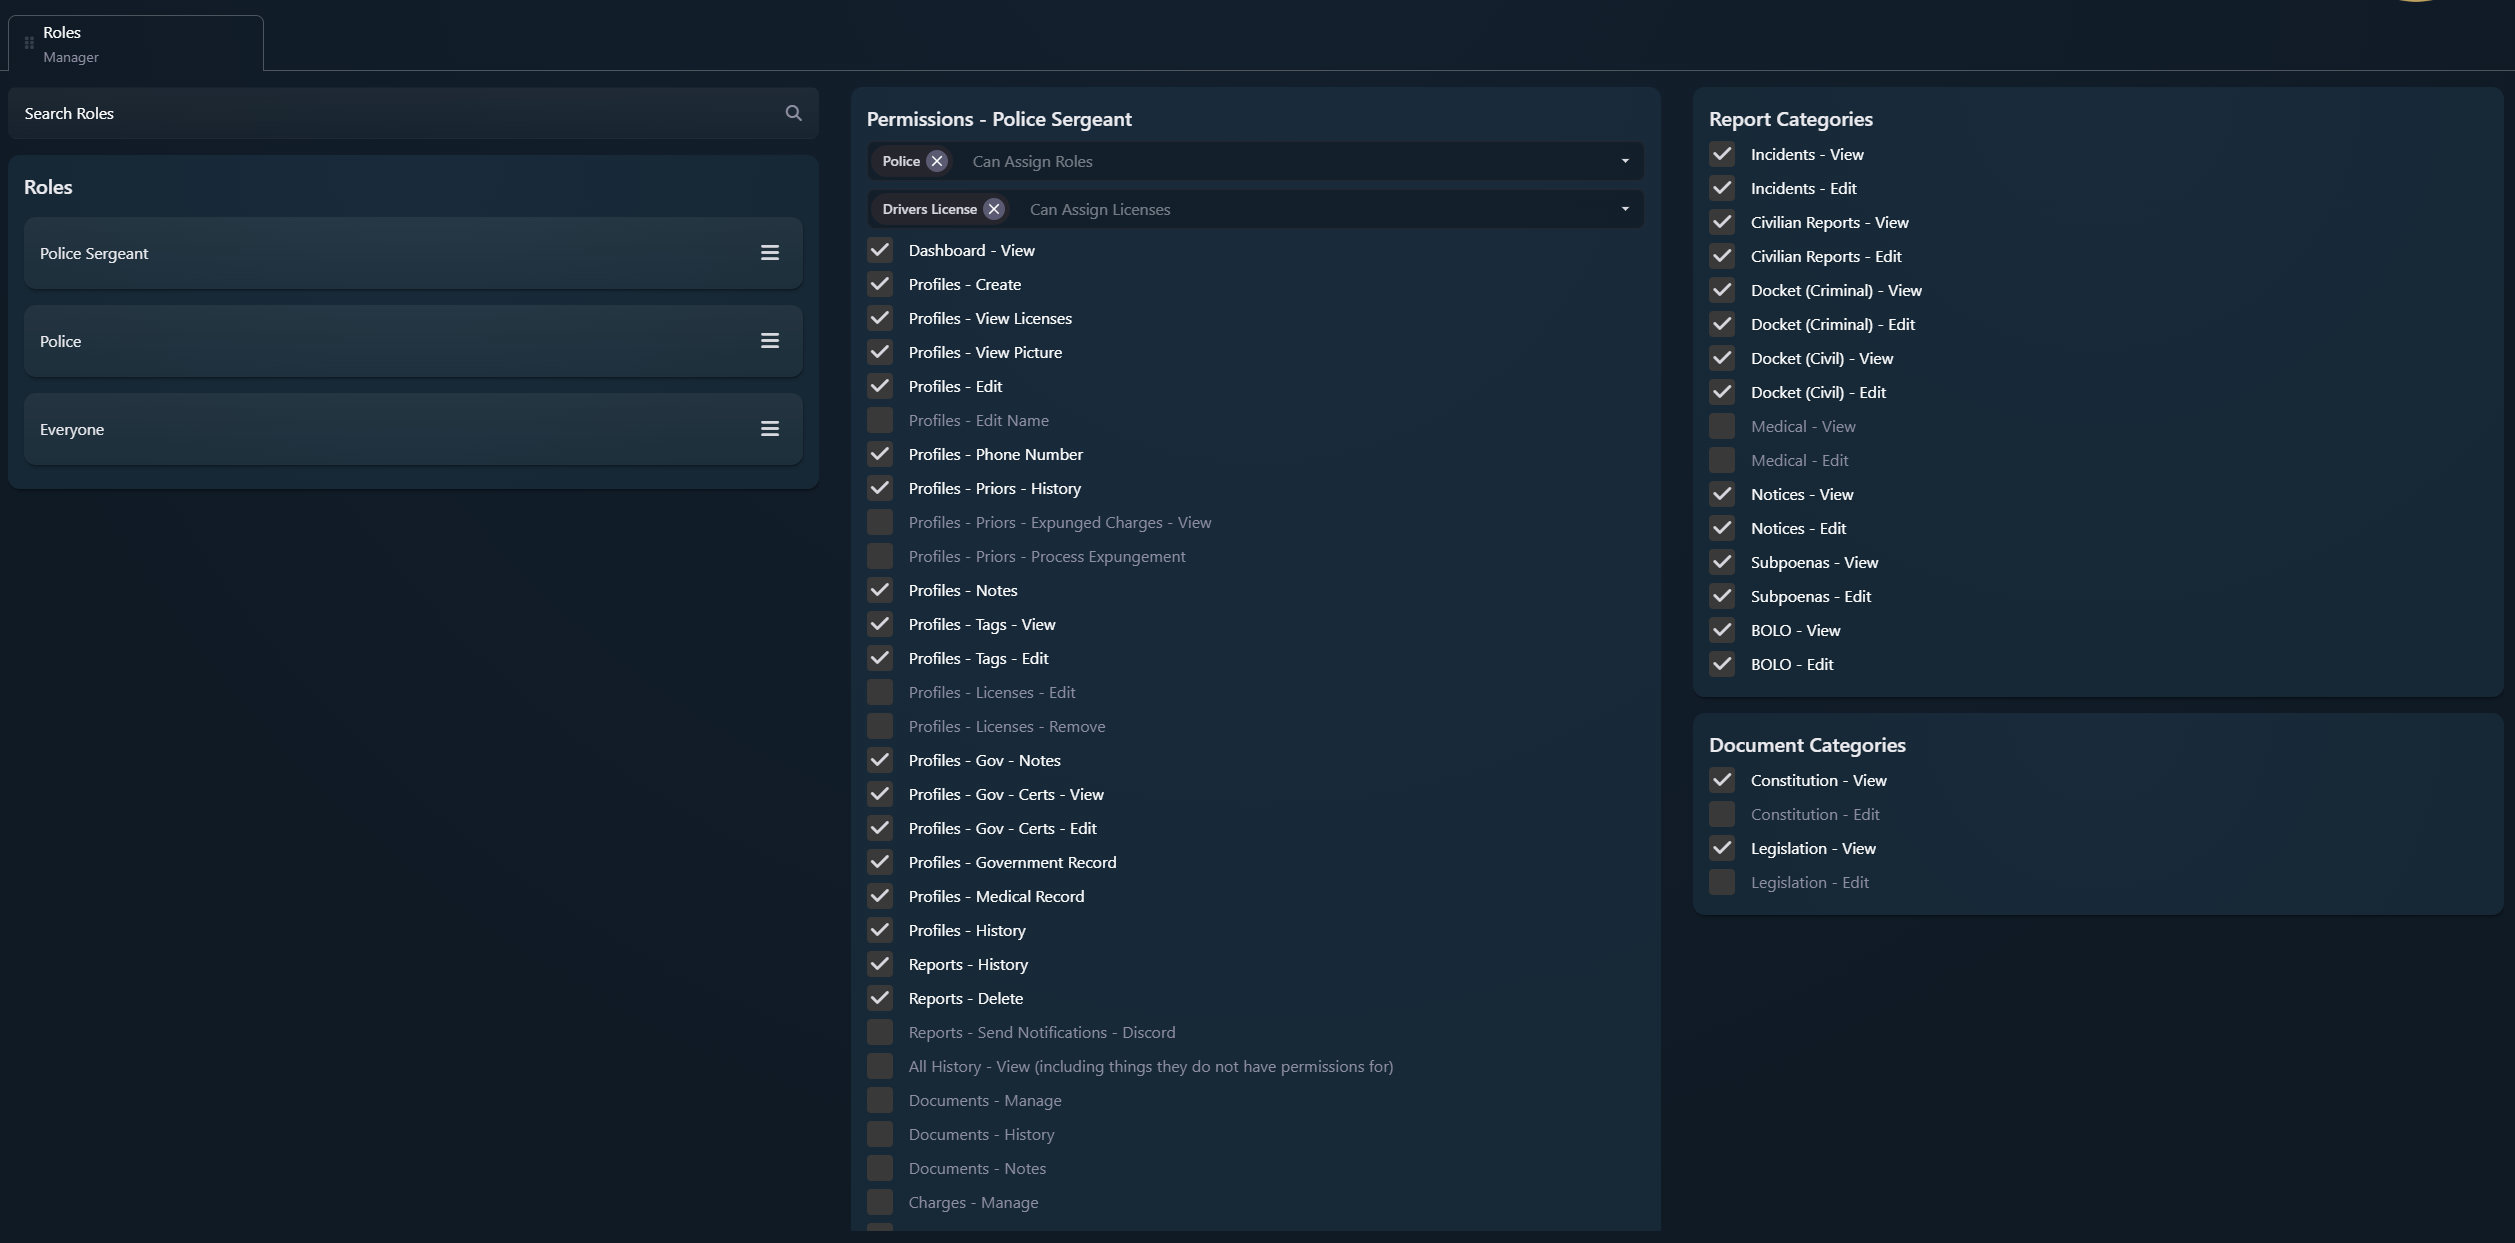
Roles can be created, edited, deleted, ordered and searched. To edit a role, click it and select 'Edit Permissions'. The Everyone role controls permissions that every user will receive.
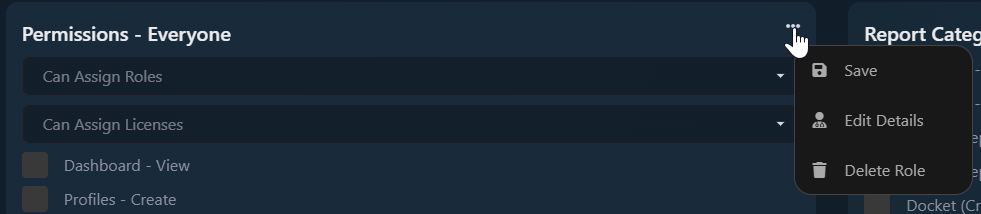
General settings for a role are found at the top right of the center permissions list. Here you can save your changes, delete the role or edit details.
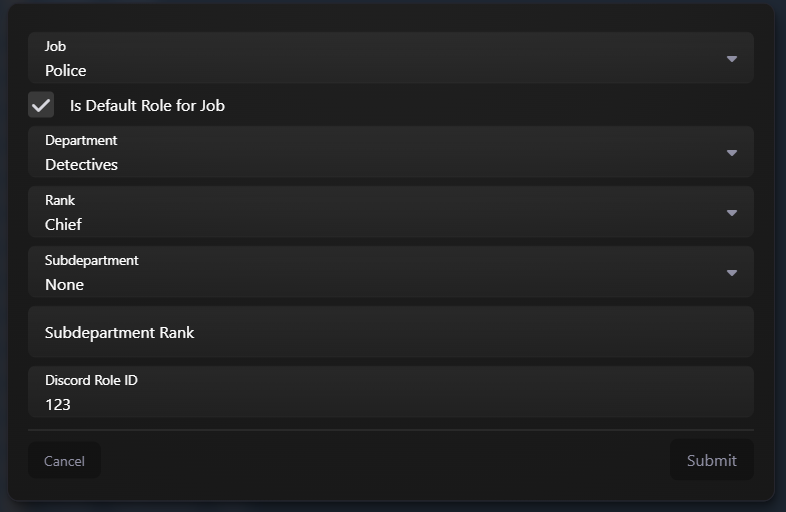
If jobs are enabled in the Admin MDW Settings you can edit the job this role is tied to. You can check the 'Is Default Role for Job' checkbox so anyone with that job will receive this role by default. You can change the department, rank, subdepartment and subdepartment rank that a user will receive if they are given this role.
If your server has ONX MDW Premium the Discord role ID can be added here to sync roles.
The roles and licenses that can be given by people with this role can be set. All permissions in the centre should be self-explanatory. Be very careful assigning the 'Roles - Manage' permission - anyone with this permission can give themself any other permission. Only a few people on your server should have this permission.
On the right you can grant view and edit permissions for each report and document category.